You can use Zoom to record your meetings with students or as a video recorder to create instructional videos for your students.
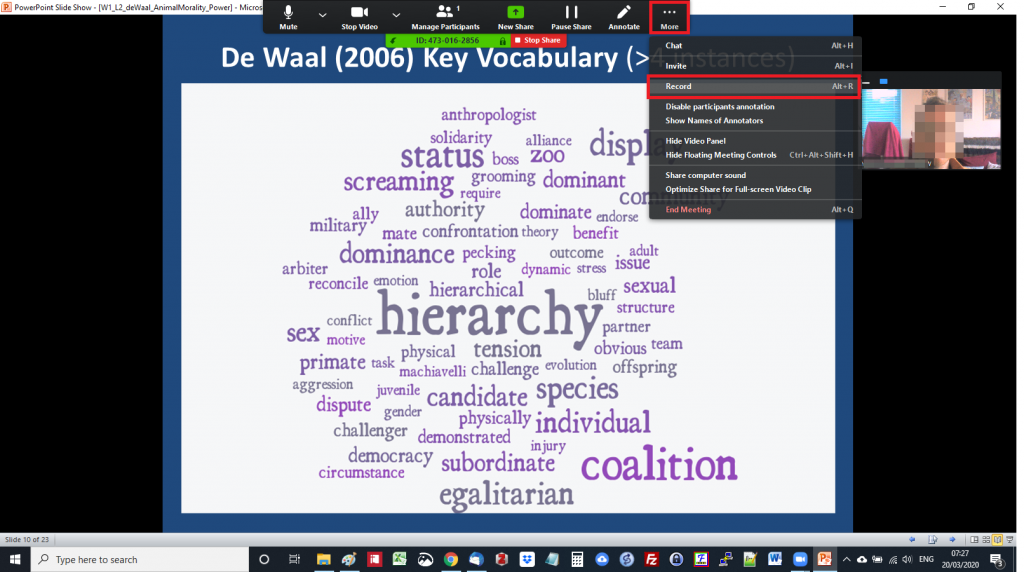
To start recording, press the record button. Meetings can be recorded to Zoom’s cloud recording service or to your local computer.

“Recording to Cloud” is not recommended for various reasons:
- Since the account you are using to start meetings is not your personal account, your recorded videos can be seen/deleted by other teachers who share the same classroom account.
- Recordings will not stay on the cloud for a long time.
- Each account has a 1 GigaByte quota for recordings which will be consumed very rapidly.
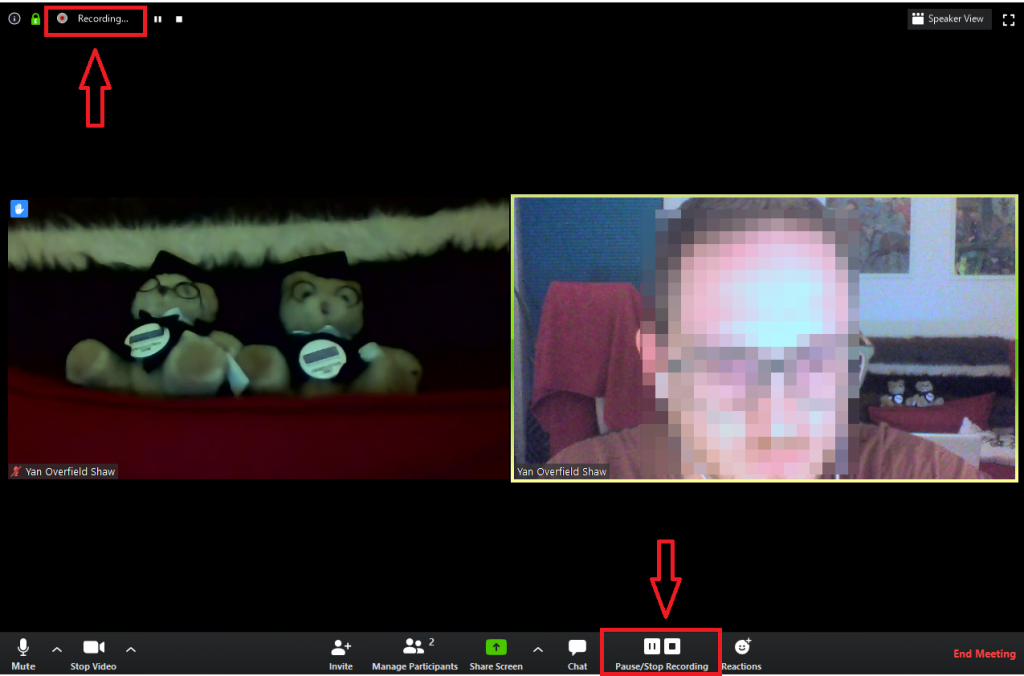
The host and any participants will be notified that the meeting is being recorded in the top left of the screen. You can pause or stop the recording at any time using the buttons in the bottom controls bar.
You can also record your lectures in screen share mode, to create instructional videos. If you have started video, you will be visible in the top right of the screen (stop video for slides/screen and audio only)
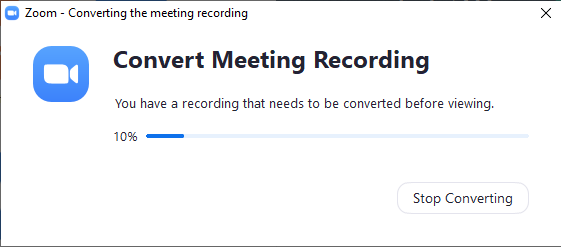
When you press the stop button, the recording will be saved by Zoom. After the “End Meeting” button is clicked, the video will be converted to Mp3 audio and Mp4 video.
The recording is stored in the zoom directory in a folder named after the meeting.
Bear in mind that one minute of a meeting recorded in this way takes up approximately 5 MB of disk space. You may want to delete files in the zoom folder from time to time so you don’t run out of space.

Access Recordings on the Cloud/Local Computer
On the Cloud
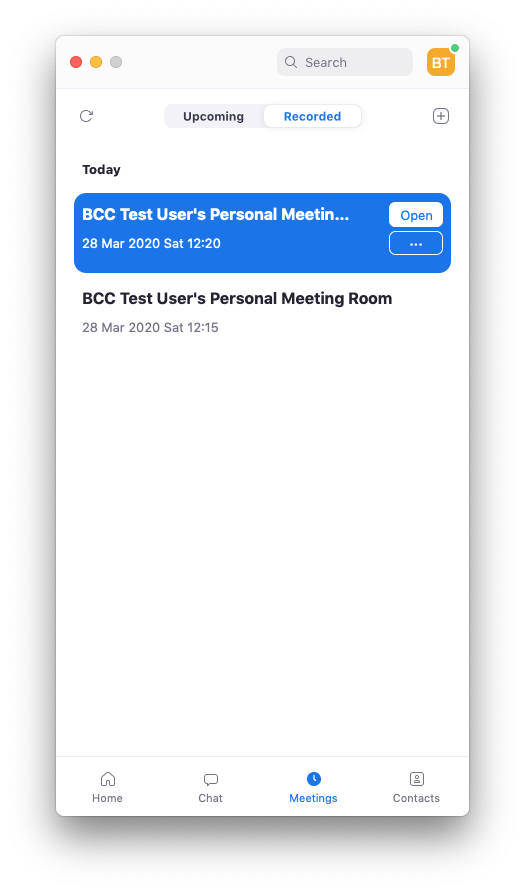
If the recordings were uploaded to the cloud, you can see them by using a desktop Zoom application. You cannot use a mobile device to access recorded videos.
- Start the Zoom program,
- Sign-on to the classroom account,
- click “Meetings” at the bottom,
- click the “Recorded” tab at the top

“Open” will start playing the video your file manager to directory where the file is placed. You can download it and then upload to any convenient web service where you can share it with others. Bilkent Moodle is available for this. Youtube, Vimeo are other places where you can upload the video file.
On the Local Computer
If the recordings were recorded on your local computer, they can be found under the …/Documents/Zoom folder; organized in sub-directories named with their dates and meeting numbers.
Easiest way to find videos of locally recorded videos is through the Zoom program:
- Start the Zoom program,
- Sign-on to the classroom account,
- click “Meetings” at the bottom,
- click the “Recorded” tab at the top
“Open” will forward your file manager to directory where the file is placed. You can view it, edit it if you like (you need a video editing software to edit) and upload to any convenient web service where you can share it with others. Bilkent Moodle is available for this. Youtube, Vimeo are other places where you can upload the video file.