Many lectures and much student course work requires giving presentations, sharing notes and brainstorms, demonstrating how something is done on a computer, studying images, etc.
Zoom allows hoists and participants to share their computer screens with other participants.
To share your screen with participants, click the green button labelled “Share Screen”.

You will see a list of options:
- Screen (this lets others see whatever is on your screen)
- Whiteboard (this is a built in basic text and graphics program, a bit like MS Paint, which the host can use to write/draw things for the participants)
- iPhone/iPad (e.g., if you want to use a pen mouse and drawing app or demonstrate a mobile app, etc.)
- all the app windows which are currently open on your computer (in the image below, Chrome, PowerPoint, and… Paint!).
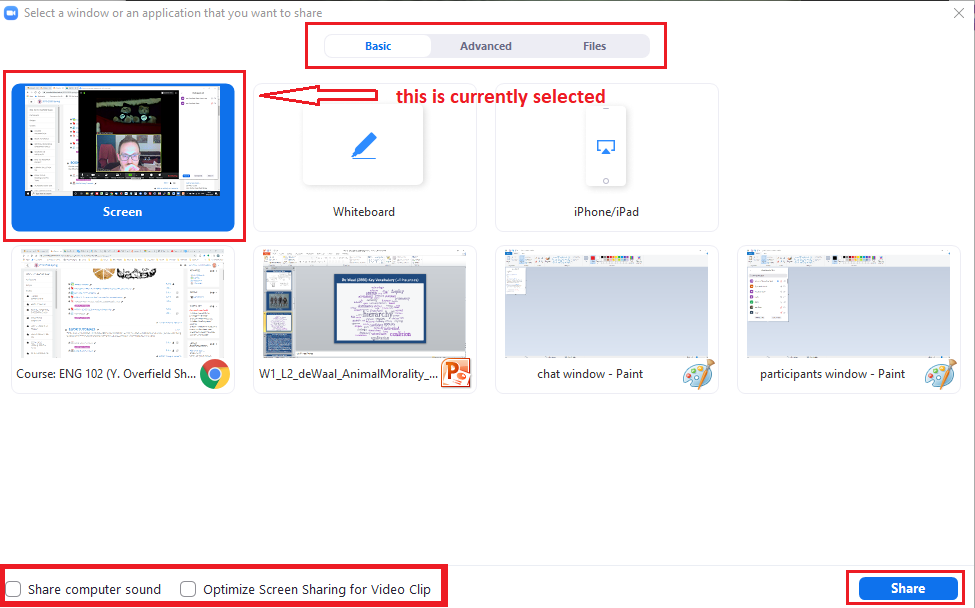
Pick the window you want to share with your audience and click the blue “Share” button.
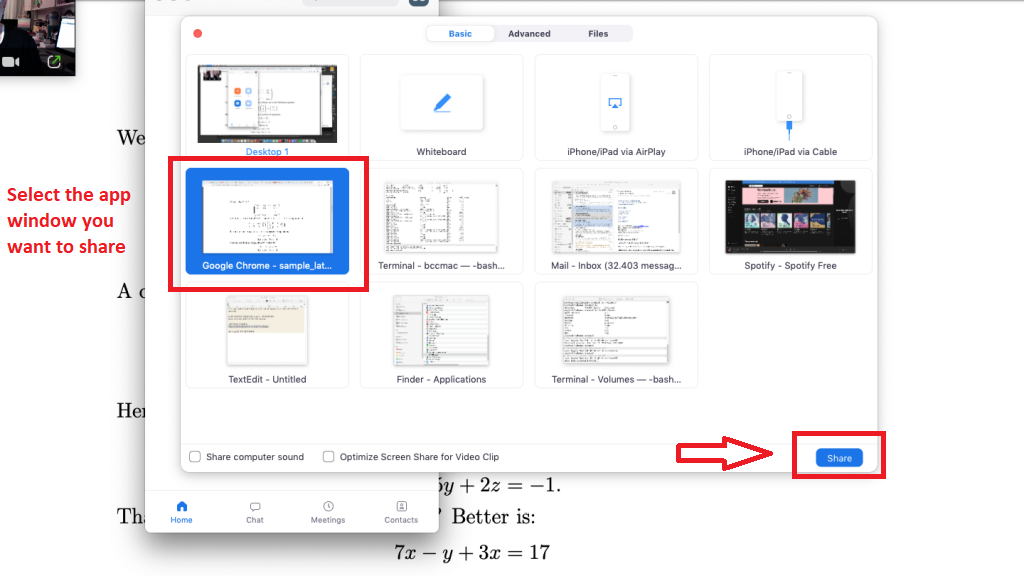
When you click, say the Powerpoint or OpenOffice presentation window and the “Share” button, your video class participants will start seeing that window on their own screens.
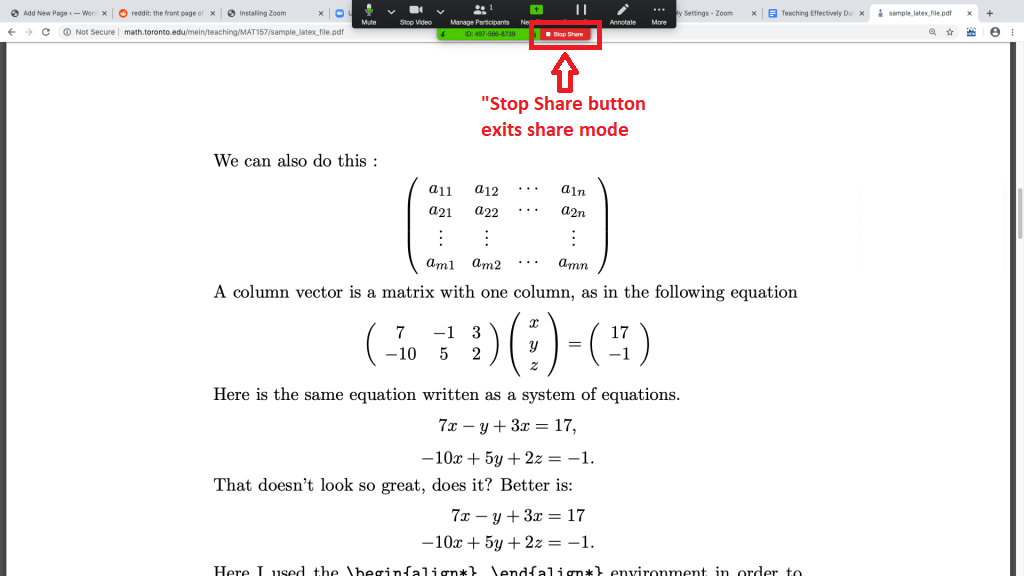
… and you can stop sharing your screen using the red colored “Stop Share” button at the top of your screen.
Things to Avoid/Consider
As a participant, don’t share your screen with others unless/until the instructor asks you to, of course 🙂
Avoid showing physical documents/whiteboard using your camera: Depending on your webcam and connection quality, the image quality for participants may be very low. With screen share, the image quality will be perfect, since the screen will be transmitted in digital form rather than video quality. That said, if you have a high quality second camera, you can share this under “advanced” and point it at physical paper notes/a whiteboard. Likewise, if you are more comfortable using a whiteboard, go ahead and try with your webcam, but make sure the image is clear for participants – you may need to write in very large letters!